How To Video- Create the Perfect Bun With Allie Hattan
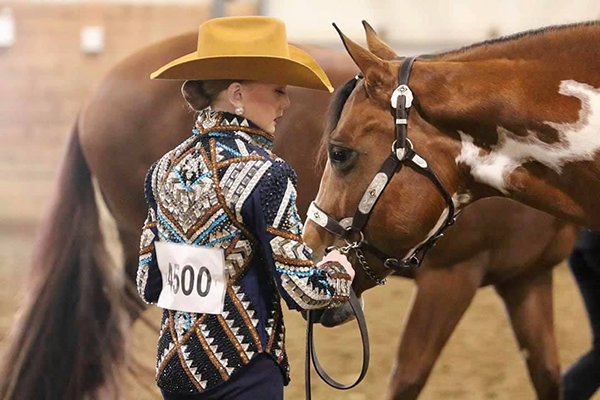
The perfect bun completes your horse show look. All photos courtesy of Beth Foster-Hattan.
By: Brittany Bevis
Like in life, when it comes to showing horses, you never get a second chance to make a first impression. It’s the small, often overlooked, details that add up to create a polished and professional picture in the show pen.
In this new series of EC How-To Videos, our experts will teach perfect technique in a variety of applications to ensure you’re prepared for the next horse show.
First in this series is Creating the Perfect Bun with longtime APHA non-pro competitor, and hair guru, Allie Hattan. For this tutorial, you will need the following supplies.
- Hair tie (Goody- Ouchless Hair Elastic) or small rubber bands Proclaim rubber bands)
- Hair spray (pro recommendation- Got2b Glued Hair Spray)
- Hair brush (pro recommendation- Crave Naturals)
- Hair net (Goody hair net)
- Bobby pins (wide hair pins like Sally Beauty hair pins and regular bobby pins like Goody bobby pins )
- (All of these supplies are available at minimal cost from retailers like Wal-Mart or Target.)
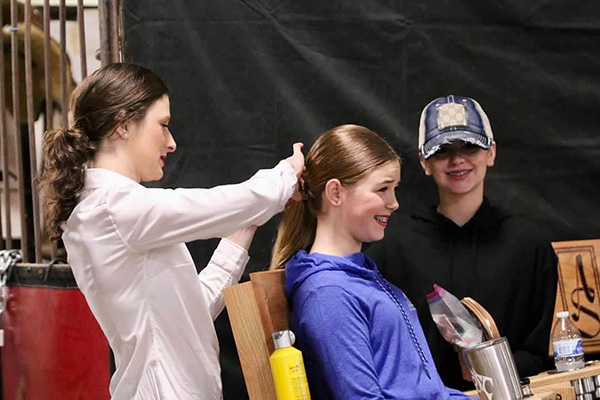 Once you gather your supplies, you should first assess what type of hair you will be working with, which will determine what kind of hair ties and bobby pins you will need to use. For this tutorial, Allie’s model has very long, straight hair, so she opted to use a Crave Naturals brush to smooth the hair surface and work out any tangles. Allie notes that when putting curly hair into a bun it’s not necessary to brush it first, which can lead to an increase in volume and unnecessary pouf.
First, brush the hair into a ponytail that you will hold in your hand. Next, use hairspray to spray the sides and top of the head before securing the hair with a hair tie or rubber band. Allie recommends using a sticky hairspray like Got2b Glued for extra hold. Pull the hair underneath the ponytail, on either side, to make the ponytail sit tight and low against the base of the neck. Brush the ponytail once more to remove any tangles before putting it into a bun.
To create the bun, hold the middle of the ponytail and begin twisting the hair on itself, sliding your hand down towards the bottom as you go. Then, wrap the ponytail around the base to create the bun. Now, it’s time to secure with hair pins and bobby pins. For short hair, you might be able to get away with using typical bobby pins. However, for long hair, like Allie’s model, she recommends using wider hair pins, in addition to the regular bobby pins.
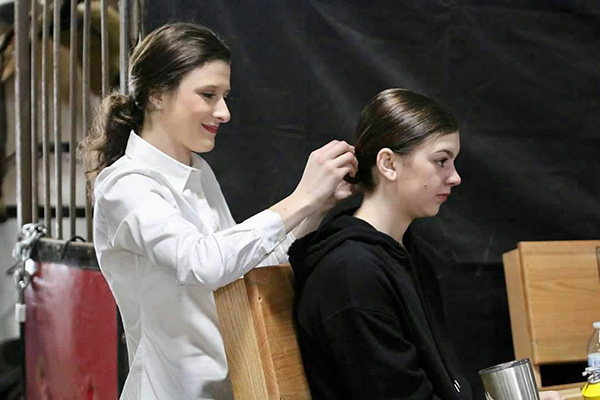 Next, use a hair net to contain the bun. Start at the bottom and wrap up toward the top. Twist at the top and wrap back down again to the bottom. Make sure the seam of the hair net is hidden. Secure the hair net into place with bobby pins.
Use hairspray on the sides of the head and smooth with your hand, instead of a brush, to control any flyaways. As a final touch, spray the bun to secure the hair net.
What How-To video would you like to see next? Email B.Bevis@EquineChronicle.com with your suggestions.


